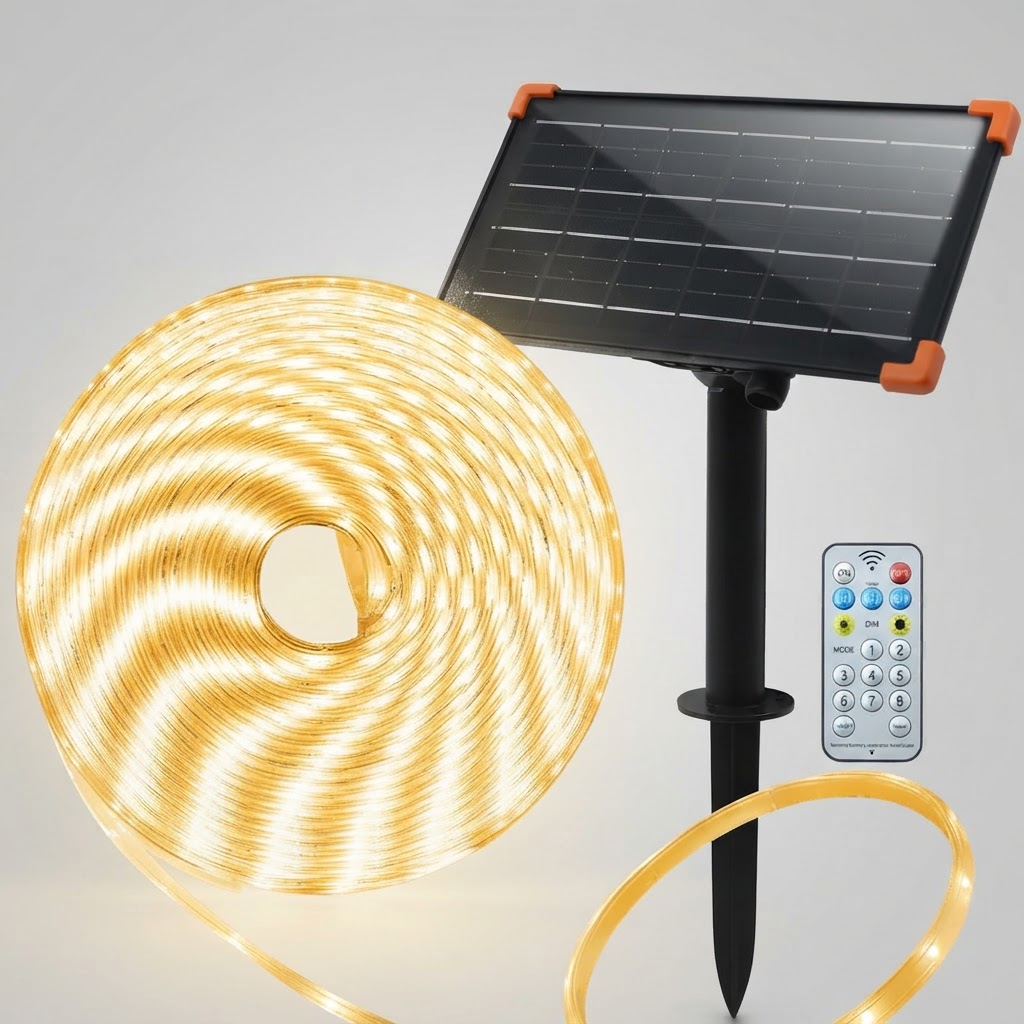
How to Install Solar LED Strip Lights Around Pools and Decks
Installing flexible outdoor solar lighting is a simple weekend project that produces immediate results. By following these steps, you can safely secure lights around decks, steps, or pool edges. For comprehensive design concepts and sizing tips, consult [the main guide].
Step 1: Clean and Prepare the Installation Surface
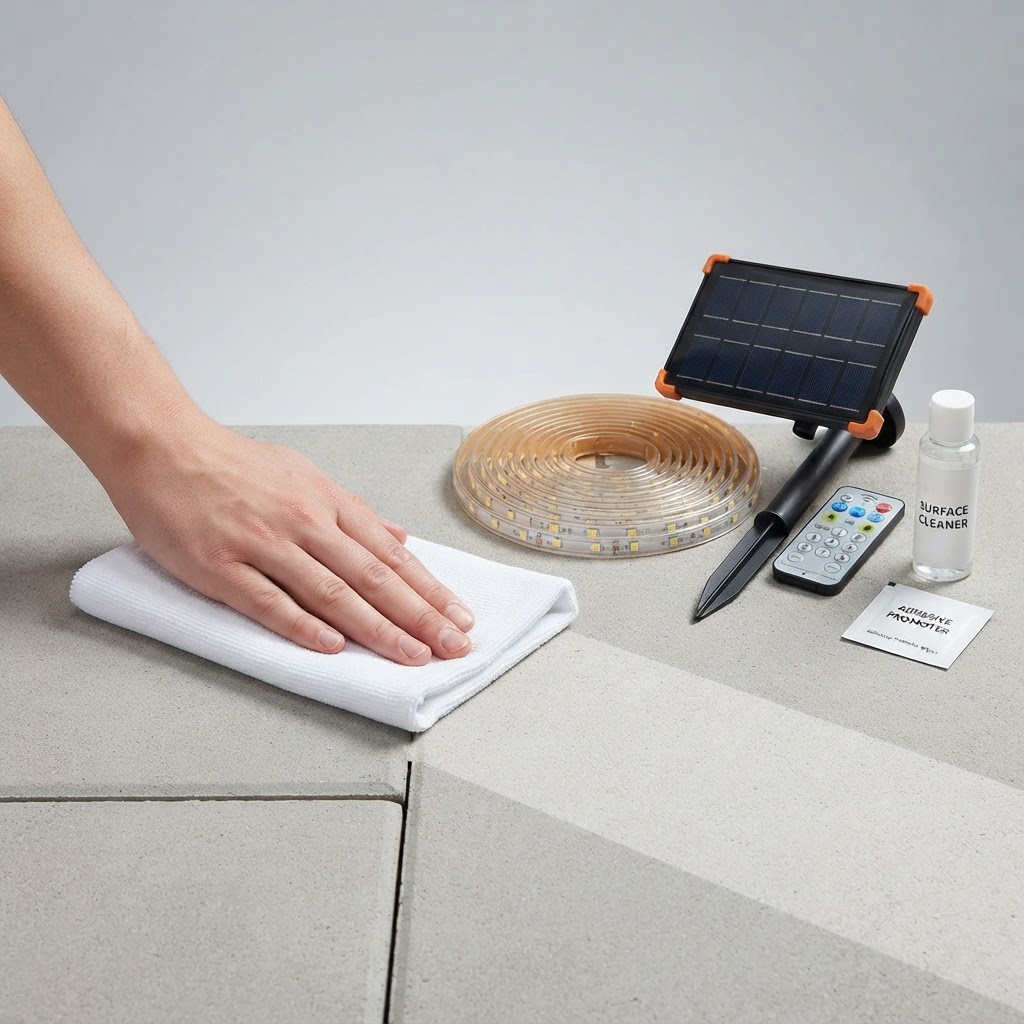
Thoroughly wipe down deck wood, aluminum, or composite surfaces using a mild cleaner to remove dirt, grease, and moisture. Ensuring a completely clean, dry surface allows the double-sided adhesive backing to adhere securely. If installing on rough surfaces, prepare your drill for screw buckle attachment.
Step 2: Position and Secure the Light Strip
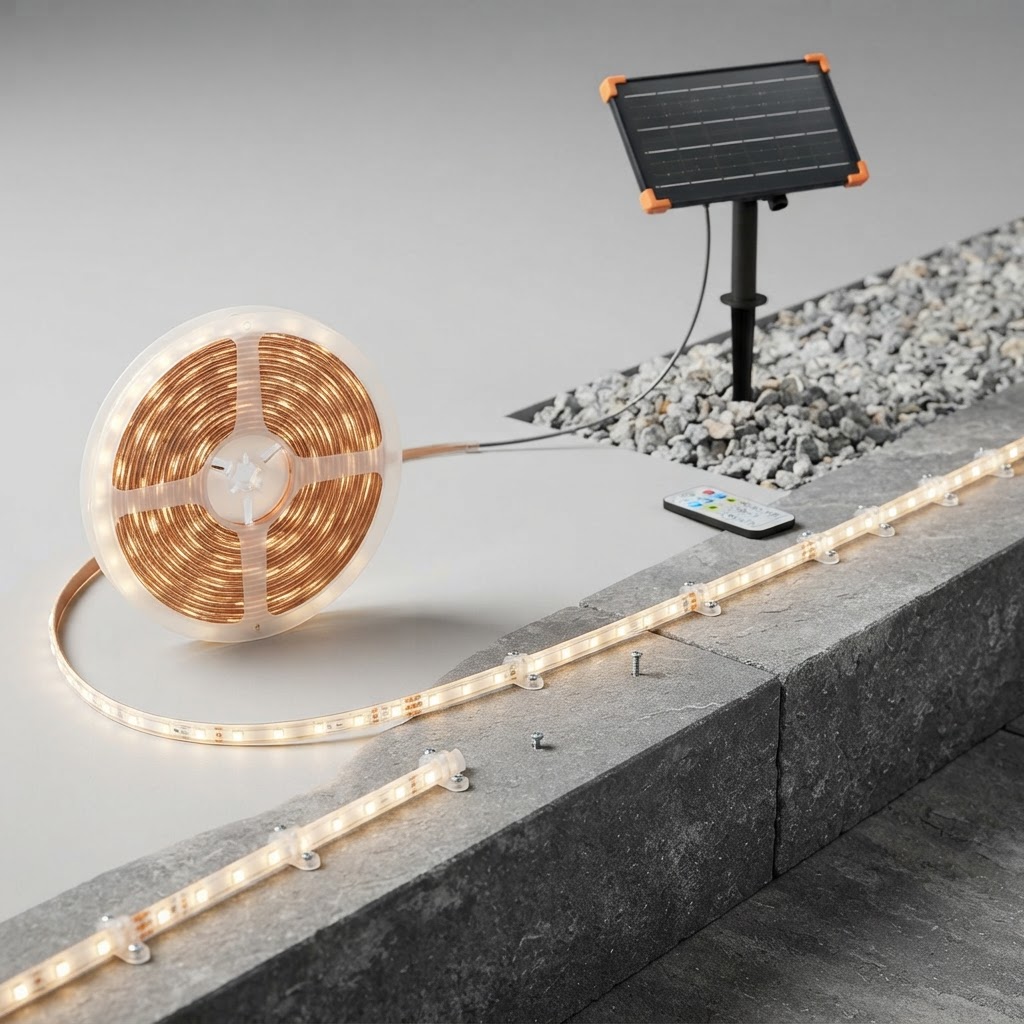
Unroll the strip light (available in 16.4ft, 32.8ft, or 50ft lengths) and test layout positioning. Gently press the double-sided tape onto smooth surfaces. For extra security on outdoor wood or brick, install the included screw buckles over the strip at regular intervals. Note: While strips are flexible, avoid cutting whenever possible to maintain the 100% IP68 waterproof rating. Remember that any excess cut-off section cannot light up again.
Step 3: Mount the Large Solar Panel in Direct Sunlight
Mount the 12.2*14cm solar panel in a location that receives 6-8 hours of direct daily sunlight. Use the attached 6.56ft lead wire to route power from the panel to the hidden light strip placement under railings or deck edges. Secure the panel spike or bracket firmly.Step 4: Test Lighting Modes with the Remote Control
Allow the battery to complete an initial auto-charge cycle in direct sunlight. In darkness, aim the multi-function remote control directly at the solar panel to select from 8 lighting modes, 3 timer settings, and 4 brightness levels. If sunlight is insufficient due to weather, use the secondary USB charging port to top off the battery.Read the full guide: Complete Guide to Solar Powered Outdoor Lighting Ideas for Your Home